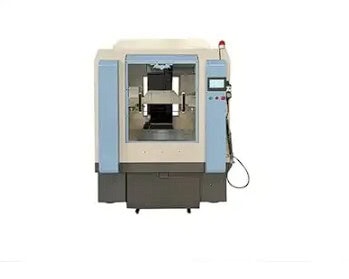
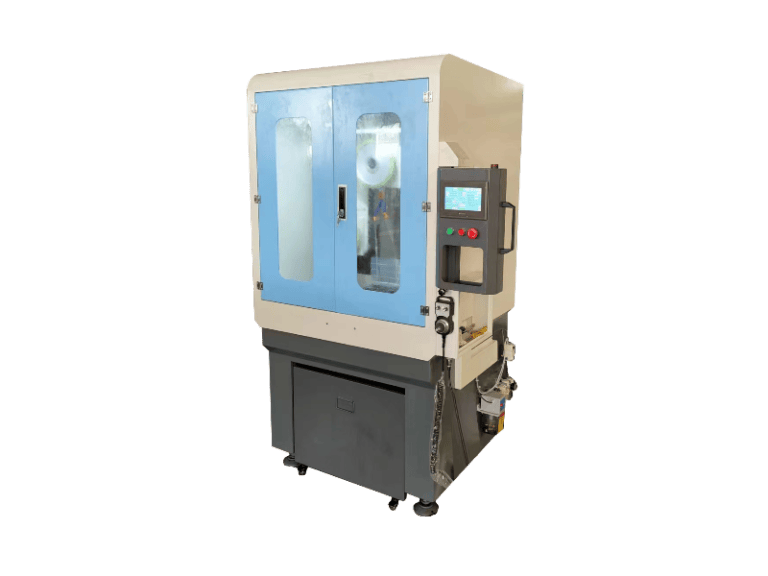
Have you ever felt overwhelmed by the complexity of starting a new DIY project, especially when it involves something as intricate as wire cutting machines? You’re not alone. Many enthusiasts find themselves grappling with the technical details and precision required in such tasks. But what if there was a clear, detailed guide that could illuminate the path forward?

That’s exactly what you’ll find here in “How to Make a Wire Cutting Machine: A Step-by-Step DIY Guide.” This guide is designed to simplify the complexities of building your own machine, ensuring you can achieve professional results without the professional headaches. With the Shine brand at the forefront, we aim to empower you to not only complete your project but also to excel at it, using techniques such as diamond wire cutting.
Table of Contents
How to Make a Wire Cutting Machine
- Material Gathering: Collect all necessary materials including steel rods, a high-torque motor, electrical wires, and a microcontroller for automated operations.
- Tool Preparation: Ensure you have the required tools such as screwdrivers, a soldering iron, a drill, and measuring devices ready for use.
- Design Sketching: Start with a detailed sketch of your Shine wire cutting machine, emphasizing safety features and ergonomic design.
- Frame Assembly: Construct the sturdy frame using the steel rods, ensuring all parts are securely fastened to withstand the machine’s operations.
- Motor Installation: Attach the motor to the frame, making sure it’s well-aligned and stable for precise cutting.
- Electrical Setup: Implement the wiring, connecting the motor to the power supply and integrating the microcontroller for precise control.
- Testing and Adjustments: Conduct initial tests to check the functionality. Troubleshoot any issues and make adjustments as needed to refine the performance.
- Safety Checks: Perform a final review of all safety measures to ensure the Shine wire cutting machine operates securely and effectively.
Introduction
In the world of DIY projects, crafting your own wire cutting machine is not just an endeavor—it’s a journey into the heart of creativity and engineering. The Shine guide on how to make a wire cutting machine will not only take you through the technical steps but will also explore the joys and challenges of building a tool that can slice through materials with precision. This guide is designed to inspire both novice and experienced makers, providing deep insights into the mechanics, electrical theory, and practical applications of a homemade wire cutter.
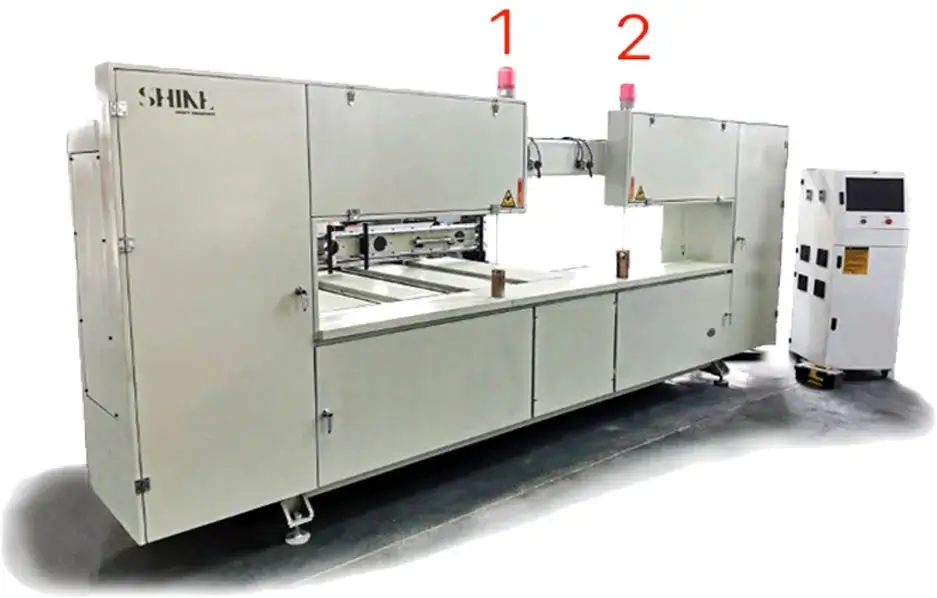
The Appeal of DIY Tools
Creating a wire cutting machine from scratch is an empowering experience. It teaches valuable skills in electrical engineering and mechanical design while giving you a custom tool tailored to your specific needs. The process involves a blend of creativity, problem-solving, and technical prowess that can be immensely satisfying.
Materials and Tools Needed
To embark on this project, you’ll need a collection of materials and tools that are accessible yet capable of delivering professional results. This section will detail everything required to construct a Shine-standard wire cutting machine.
List of Materials
- Steel rods or aluminum profiles for the frame
- A high-torque motor suitable for cutting operations
- Electrical wire and a power supply
- A microcontroller for precision control (optional for automated versions)
- Various screws, nuts, and bolts
Essential Tools
- Screwdrivers, wrenches, and pliers
- A soldering iron for electrical connections
- A drill for making holes in the frame
- Measuring tape and a marker for accurate construction
The joy of DIY is in customization. Feel free to substitute materials based on availability or the specific requirements of your project.
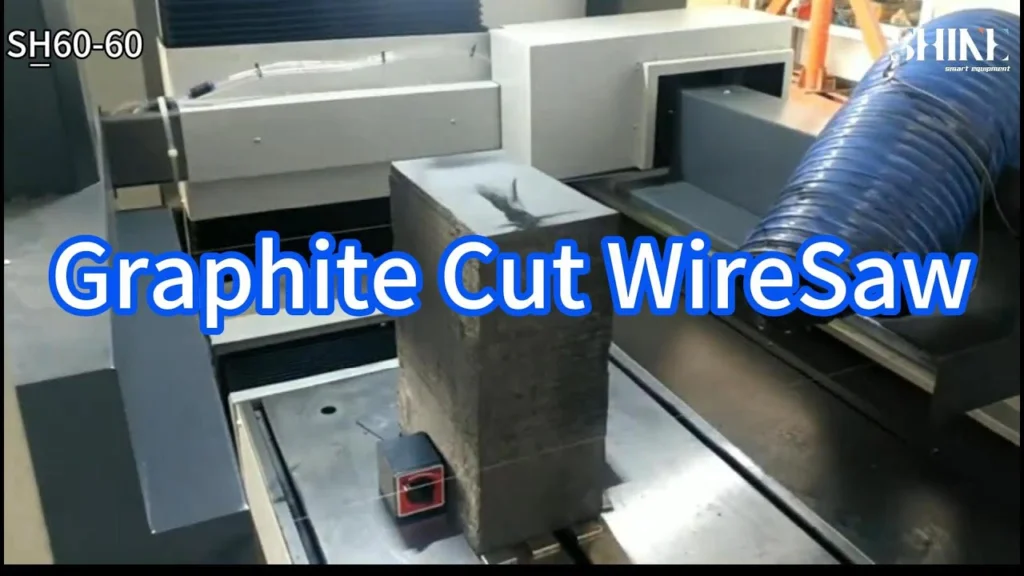
Designing Your Wire Cutting Machine
Planning the design is perhaps the most critical phase. A well-thought-out design ensures that the final product is not only functional but also safe and reliable. This section will cover everything from the basic layout to safety considerations.
Sketching Your Design
Begin with a detailed sketch that includes dimensions, the placement of components, and where wires will run. Consider the ergonomics and ease of use. The design should promote efficiency and safety, avoiding any unnecessary complexity that could lead to errors or injuries.
When sketching the design for your Shine wire cutting machine, follow this structured project list to ensure a detailed and efficient blueprint:
- Objective Definition: Start by defining the specific goals for your Shine wire cutting machine. Consider factors such as material types, cutting precision, and size constraints.
- Shape and Size Outline: Sketch the basic shape and dimensions of the machine, focusing on a robust frame and an ergonomic layout.
- Component Layout:
- Motor: Position the motor securely to minimize vibrations and enhance access for maintenance.
- Cutting Blade: Align the blade with the motor for optimal cutting efficiency.
- Control Panel: Place the control panel in a user-friendly location, protected from operational hazards.
- Incorporate Shine Aesthetics:
- Integrate sleek, modern design elements characteristic of the Shine brand.
- Designate a spot for the Shine logo that enhances brand visibility without being intrusive.
- Safety Features:
- Add a protective guard around the cutting blade.
- Include an easily accessible emergency stop button.
- Material Flow Path: Design a clear path for the wire, ensuring it is easy to load and unload, and free from obstructions.
- Annotations and Details: Provide detailed annotations on materials, dimensions, and assembly instructions to aid in construction accuracy.
- Review and Revise: Thoroughly review your design, making necessary adjustments to improve functionality and safety, aligning with Shine’s commitment to excellence.
Safety Considerations
- Ensure all electrical connections are insulated.
- Design a protective cover for the cutting area.
- Include an emergency stop button.
- Consider the machine’s stability; it should not tip or wobble during operation.
Click to watch our detailed tutorial on how to master the art of wire cutting. This video, brought to you by Shine, is your ultimate guide to understanding and using wire cut wire techniques effectively. Dive into the world of DIY and enhance your skills today!
Master Wire Cutting: Essential Tips and Tricks | Shine DIY Guide
Step-by-Step Assembly Instructions
With your materials ready and a design in place, the next step is assembling your Shine wire cutting machine. This part of the guide will provide detailed, sequential instructions to ensure a smooth assembly process.
Preparing the Materials
- Cut all materials to size according to your design.
- Prepare all surfaces by cleaning them and, if necessary, applying a rust-proofing treatment.
Assembling the Components
- Start by constructing the frame, ensuring all parts are aligned and securely fastened.
- Install the motor and ensure it is firmly mounted.
- Attach the cutting blade to the motor’s shaft. Make sure it is perfectly aligned to avoid vibrations.
Wiring and Electrical Setup
Electrical setup is crucial as it powers the machine and must be handled with care to avoid accidents. This section will guide you through wiring your machine safely and effectively.
Electrical Safety Tips
- Always disconnect the power supply when making adjustments.
- Use cable management techniques to keep wires organized and out of the way.
- Double-check all connections before powering up the machine.
Connecting the Electrical Components
- Connect the motor to the power supply through the microcontroller if using automation.
- Ensure all connections are secure and test for any loose wires.
Testing and Troubleshooting
After assembly, testing is essential to ensure everything works as expected. This section will guide you through the initial tests and how to troubleshoot common issues.
Initial Testing
- Begin with a dry run without cutting material to check the motor function and blade alignment.
- Proceed to test cuts with different materials to see how the machine handles them.
Troubleshooting Common Issues
- If the blade wobbles, check its alignment and tighten any loose components.
- Should the machine fail to power up, re-examine your electrical connections and ensure the power supply is adequate.
Maintenance and Safety Tips
Maintaining your Shine wire cutting machine ensures its longevity and safety. Regular checks and care will keep it performing at its best.
Regular Maintenance
- Regularly check for loose screws and worn-out parts.
- Keep the machine clean, especially from cutting debris which can affect its functionality.
Safety Guidelines
- Always wear protective gear when operating the machine.
- Never leave the machine running unattended.
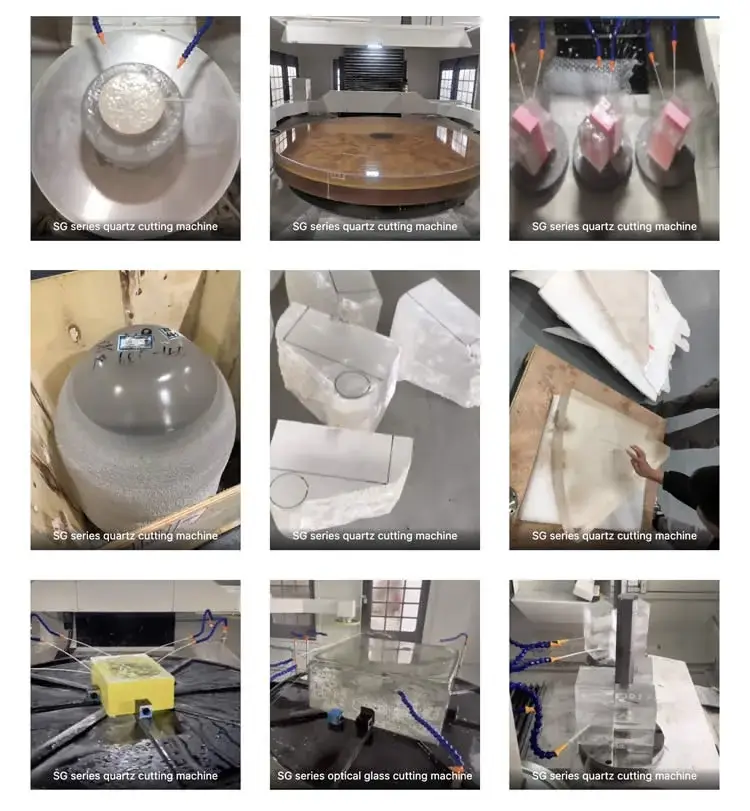
Looking for unparalleled precision in your next project? Check out our top-of-the-line Quartz Cutting Machinery. Perfect for artisans and DIY enthusiasts alike, our machines provide the accuracy you need to shine in all your creative endeavors. Don’t wait—transform your craftsmanship today!
Discover Precision: The Best Quartz Cutting Machinery on the Market!
Conclusion
By following this detailed guide, you now have a functional, homemade Shine wire cutting machine that stands as a testament to your skill and creativity. This project doesn’t just end with the completion of the machine; it’s the beginning of countless projects that your new tool will make possible. Dive into your next DIY challenge with confidence, knowing you have the tools and knowledge to tackle anything.
The process of how to make a wire cutting machine can be as rewarding as it is educational. Each step offers a learning opportunity, and each problem solved is a triumph. Let your creativity shine through your projects, and always strive to push the boundaries of what you can build and create.
Feel inspired? Ready to take your DIY projects to the next level? Visit Shine’s website today and explore the best in wire cutting tools and technology. Unlock your creative potential and start building with confidence and precision!
FAQs about Building a Wire Cutting Machine
1. What is a wire cutting machine?
- A wire cutting machine is a tool used to cut various types of wire, including metal, to specified lengths or designs. It can be either manually operated or automated using electrical systems.
2. What materials are needed to build a wire cutting machine?
- To build a basic wire cutting machine, you’ll need materials such as steel rods for the frame, a high-torque motor, cutting blades, electrical wires, and possibly a microcontroller for automated operations.
3. How much does it cost to build a wire cutting machine at home?
- The cost can vary widely depending on the complexity of the design and the materials used. A simple DIY wire cutting machine could cost as little as $50 to $100, while more advanced models with automation could cost several hundred dollars.
4. How long does it take to build a wire cutting machine?
- For a DIY enthusiast with all the necessary tools and materials, building a basic wire cutting machine could take a weekend or about 8-16 hours of dedicated work.
5. Can I build a wire cutting machine without electrical engineering experience?
- Yes, it’s possible to build a simple manual wire cutting machine without electrical engineering knowledge. However, for automated machines, some basic understanding of electrical components and circuitry is helpful.
6. What are the safety precautions to consider when building a wire cutting machine?
- Safety is crucial when building any machinery. Make sure to:
- Use insulated tools and wear protective gear.
- Install an emergency stop button.
- Ensure all electrical connections are secure and well-insulated.
- Keep the cutting area enclosed to prevent accidental contact.

